Live Brief Anglepoise Lamp
- Daniel Boadu

- Feb 28, 2019
- 5 min read
Updated: Jun 11, 2019
Research:
After looking at my brief I realised that I had to submit two shots for the Anglepoise, UK Ltd for their new 90 Mini Mini desk lamp (https://www.anglepoise.com/collections/editions/90-mini-mini).
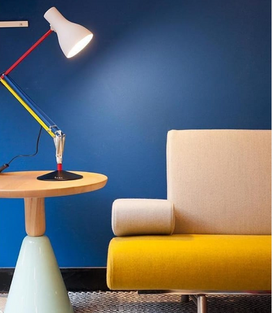
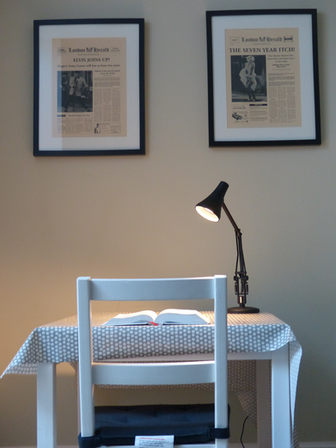
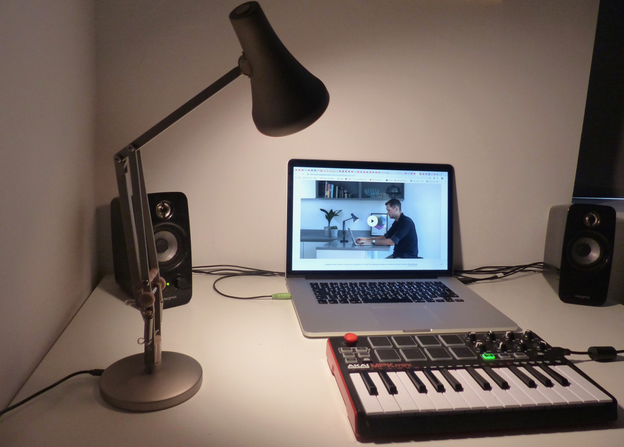
I started by looking at different Angle-poise lamp photos for inspiration as I didn't know what route I wanted to take. After looking at the brief I knew that I had to take two photos one of someone using the lamp and one of the lamp by itself; both photos had to tell a story so I decided to link the themes of the photo to the Bible. Once I knew what I had to do and the direction I wanted to to take I decided to look on their Instagram page (https://www.instagram.com/anglepoise/) to get an idea of how I was gonna lay it out.
Image Research:


Equipment Research:
I chose to use my Panasonic Lumix DMC-fz200 because of its various settings which will allow me to take a multitude of shots.
In terms of editing, I have decided that I will use a combination of Adobe Lightroom CC and Adobe Photoshop CC (2019) to ensure my photos come out in the best quality possible. In my opinion, these two software are the most useful when it comes to editing photos because I can use Adobe Lightroom CC to tidy up as well as add further detail to the photo. Then if need be import the image into Adobe Photoshop CC (2019) to add effect and change the photo if need be.
Experiments
(Don't forget to scroll down)


With these experiments, I was trying to capture shots of the lamp that shows the lamps usefulness in a realistic setting whilst trying to be creative. Chose to only use these as experiments because I felt that these shots were quite limiting in term of the story behind it. Also, certain parts of the shots are either fuzzy due lack of focus (because of the camera settings etc) or there is some sort of glare in the background.
My Response
Photo.1

Image Analysis:
I took this shot using the Panasonic Lumix DMC-fz200 in intelligence auto mode because it helps compensate for the shoots with poor lighting.
My objective was to heavily portray the theme of purity and holiness hence the main colour is white, this is because white is associated with purity. With this in mind I was inspired by two different verses John 1:1 King James Version (KJV) "In the beginning was the Word, and the Word was with God, and the Word was God." and Psalms 12:6 "The words of the LORD are pure words; As silver tried in a furnace on the earth, refined seven times." Through these actions, It would also draw more attention to the lamp as it was the only thing that was black. So I decided to create a colour contrast by making sure that everything was mainly white so that the lamp would grab the viewers attention. This photo was taken in my kitchen.
If I could change anything I would have taken more shots in different locations and try to look for new creative ways to portray this theme. In addition to this, I would have tried to get better equipment, for example, I would have tried to get a plain white cloth to further contribute to the theme.
Editing photo1
When it came to editing my image it I first had to crop realign (straighten) the image using the apple photo editing software.

I then imported the photo into Adobe Photoshop ccs 2017 so that I could change the colour of the wall. Whilst in Photoshop I first had to duplicate the layer, I then chose to use the colour replacement tool because I was familiar with it and in my opinion, it was the most suitable tool.

I then chose the colour I wanted the wall to be and then I started to change it.

Once I had finished changing the colour of the wall, I then decided to touch up the photo even-more in Adobe Lightroom cc. I made it cleaner by making a few adjustments to the lighting, colour and effects.

I then used the Healing Brush get rid of the markings on the wall to make it look clean as well as to improve the shadow.

Before & After


Photo.2

Image Analysis:
I took this shot using the Panasonic Lumix DMC-fz200 in intelligence auto mode because it helps compensate for the shoots with poor lighting.
The mean behind the photo is to show someone reading the Bible, I chose to have the aim the light of the lamp onto the bible as I was inspired by the bible scripture Psalm 119:105 King James Version (KJV)
"Thy word is a lamp unto my feet, and a light unto my path." Hence why I decided to add to use the lamp representing God's word and the bible being the person's path as they are trying to enlighten them self. Furthermore, I intentionally made the light touch his forehead a to represent his mind being lit up form the knowledge he is receiving (his mind is the metaphorical feet).
In this picture, I was trying to do the same thing as before however this time I wanted to use both the lamp and the person as the main focus of the picture to help show the usefulness of the lamp. So I chose to blur out the background so that my viewers were forced to only look at them. This photo was also taken in my kitchen.
To conclude if I was to change anything in this photo I would have liked to play around with the
editing side of things. I really wanted to experiment with the background in terms of changing it to something completely different, however, I felt I didn't do this due to lack of time. Due to this next time, I would make sure that I planned better so that I could have more to play around with my edits as well as get rid of unnecessary stress.
Editing photo2
When it came to editing the second photo I realised that I had to first crop it in order to get rid of the ceiling light and realign it slightly. I did this using the image using the apple photo editing software.

Afterwards, I was playing around with Adobe Lightroom cc and then decided to touch up the lighting and colour, I then added an effect over the image.

I then imported the photo into Adobe Photoshop ccs 2017 so that I could change the background by blurring it. In order for me to do this I had to first go to select — select and mask, Then had to create an outline around the lamp, table and person after that I touched up the mask some more.


Afterwards, I had to duplicate the background layer so that use the lasso tool so that I could fill what I selected with the content aware tool.

I then had to add a then Lens Blur effect, heres the final result.
Before & After


Comments